"Colour" in video editing is two jobs that use the same sliders. Colour correction fixes what is wrong with the footage. Colour grading decides how the finished video should feel. Doing them in the right order is the difference between a look that holds together and one that falls apart from clip to clip.
Colour correction: make it look right
Correction is technical. The aim is footage that looks the way the scene looked: properly exposed, neutral where it should be neutral, with natural skin.
- Exposure: bring a dark or bright clip to a normal brightness.
- White balance: remove an unwanted colour cast, such as the orange of indoor bulbs or the blue of shade. Warmth and tint are the controls for this.
- Contrast, highlights and shadows: recover a sky that is too bright or a face lost in shadow.
- Consistency: make clips shot at different times or on different phones look like they belong together.
Colour grading: make it look like something
Grading is creative. Once the footage is correct, you push it towards a mood: warm and golden for a summer memory, cool and muted for something serious, high contrast and saturated for energy, black and white for timelessness.
A grade is usually a filter or LUT plus a few adjustments on top. It is applied to every clip, so the whole video shares one look.
Why the order matters
A grade is designed for footage that is already balanced. Put a warm filter on a clip that is already orange and skin turns red; put it on a clip that is too dark and the shadows go muddy. Correct first, so every clip starts from the same neutral point, and the grade then looks the same across all of them.
A simple workflow on your phone
- Pick a reference clip: the one that looks best as shot.
- Correct it: exposure, then white balance, then contrast.
- Match the other clips to it, by hand or with a colour-match tool.
- Apply one filter to every clip for the look, then lower its strength until it feels natural.
- Finish with small touches such as a vignette or fine grain, if they suit the mood.
- Check faces last. Skin should still look like skin.
Mistakes that give it away
- Grading before correcting, so every clip reacts differently to the filter.
- Filters at full strength.
- Saturation turned up until colours glow.
- Crushed blacks that hide detail.
- A different look on every clip.
Correction and grading in Creovia Creator
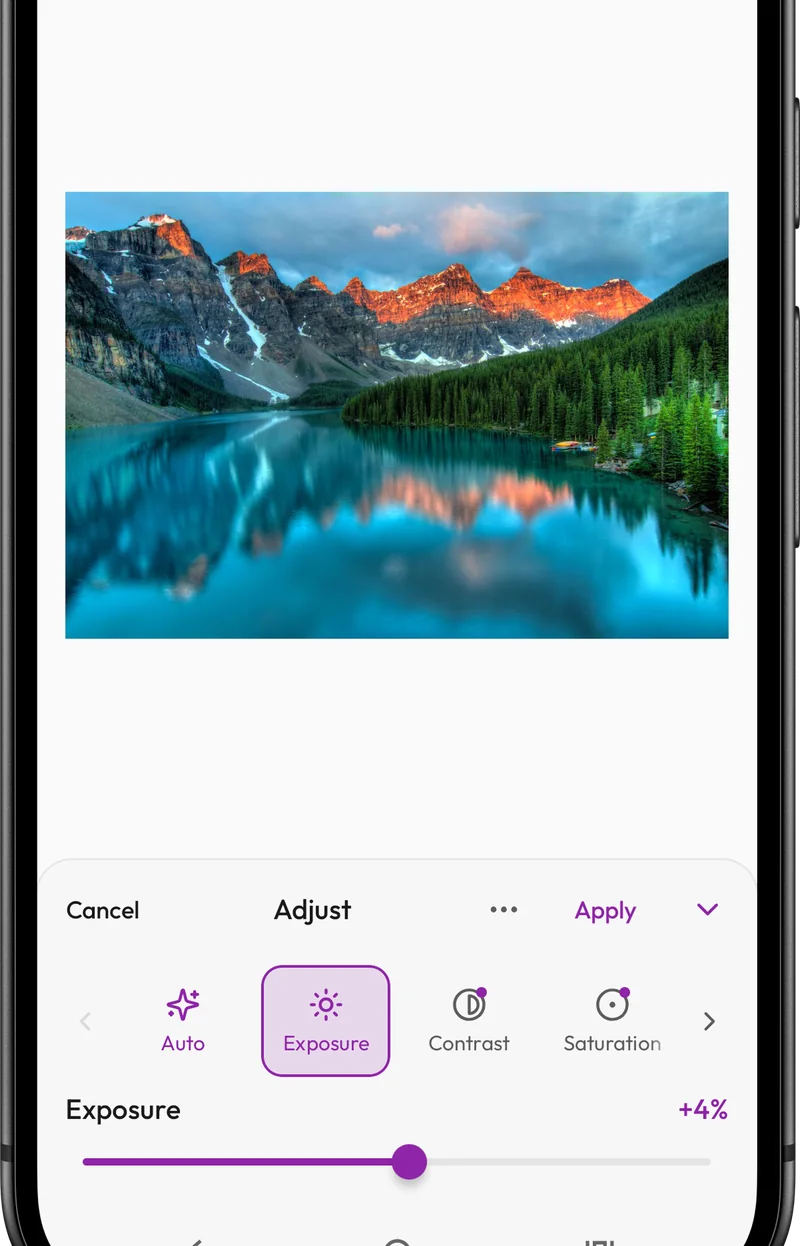
Creovia Creator keeps both jobs in one place. The adjustment panel covers exposure, contrast, saturation, warmth, tint, highlights, shadows, vignette, grain and sharpen, and every change shows on the playing preview as you drag. Match Color grades your clips towards a reference clip you pick, with a strength you can dial back. Filters sit on top as the look, and the export renders exactly what the preview showed.
Quick answers
- What is the difference between colour correction and colour grading?
- Correction fixes problems so the footage looks natural and consistent. Grading gives the corrected footage a deliberate style or mood.
- Should I colour correct or grade first?
- Correct first. A grade is built for balanced footage, so correcting each clip to a neutral starting point makes the grade look the same everywhere.
- Is a filter the same as colour grading?
- A filter is a quick way to grade. Most good grades are a filter at a moderate strength plus a few small adjustments.
- How do I make clips from different phones match?
- Choose the best-looking clip as a reference, correct it, then adjust the others towards it, or use a colour-match tool that does this for you.